
If you have been on Pinterest a while or have just browsed DIY ideas through Google, you may have come across the very popular Sharpie Mug project. This quickly became a project that I wanted to do for Christmas presents for my sister-in-law and her husband. I read numerous project guides and have found that most sharpies tend to rub off quickly. I quickly turned to something that should be more permanent, paint that is made specifically for this sort of project.
Time Spent:
Total (with baking + drying): less than 4 hours
20-45 minutes active time (drawing, painting, coating)
Money Spent + Supplies Needed:
Total for me: $3.00 (approx. $1.75 per mug since I won’t use all of the paint)
Mug(s): $1.50 each (Wal-Mart, $1 at the Dollar Store / Dollar Tree)
Enamel Paint: $1.50 (FolkArt Enamel at Hobby Lobby)
Pencil, Fine Sharpie, Newspaper, Paintbrushes, Cookie Sheet, Coating: free
You may need to buy a Fine Sharpie (approx. $1-$2), Paint brushes ($1-$3), Coating ($3.99 DecoArt at Hobby Lobby)
Here are my results!
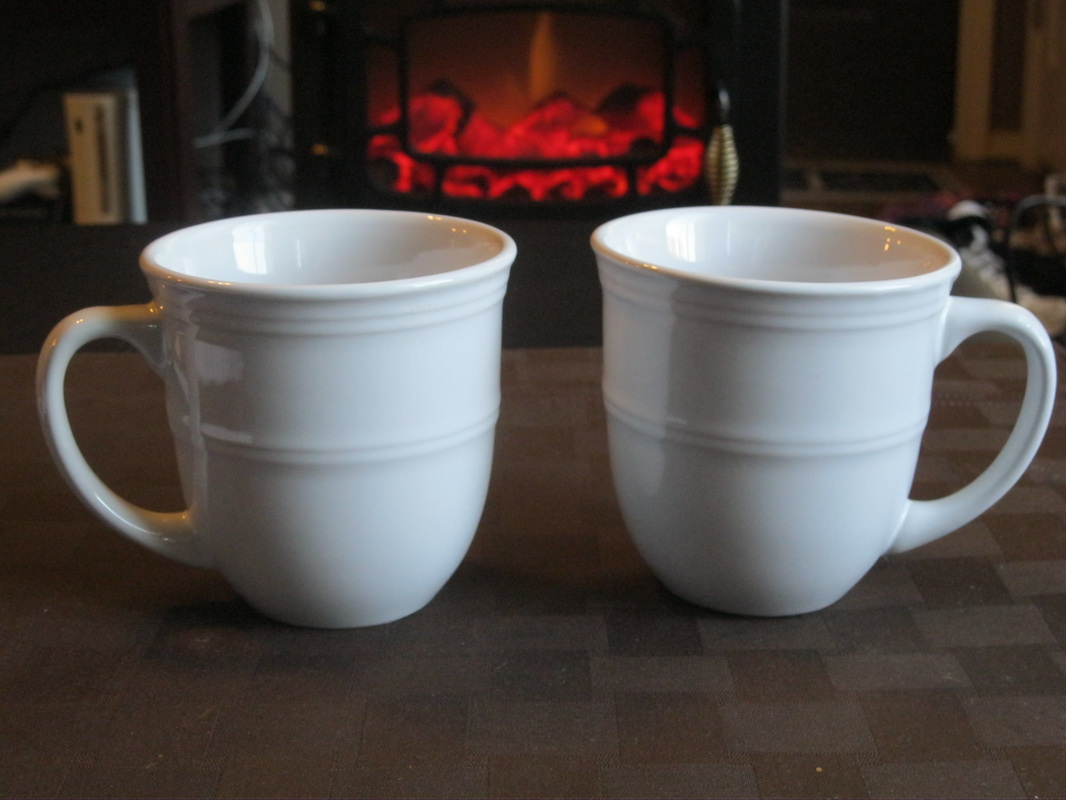
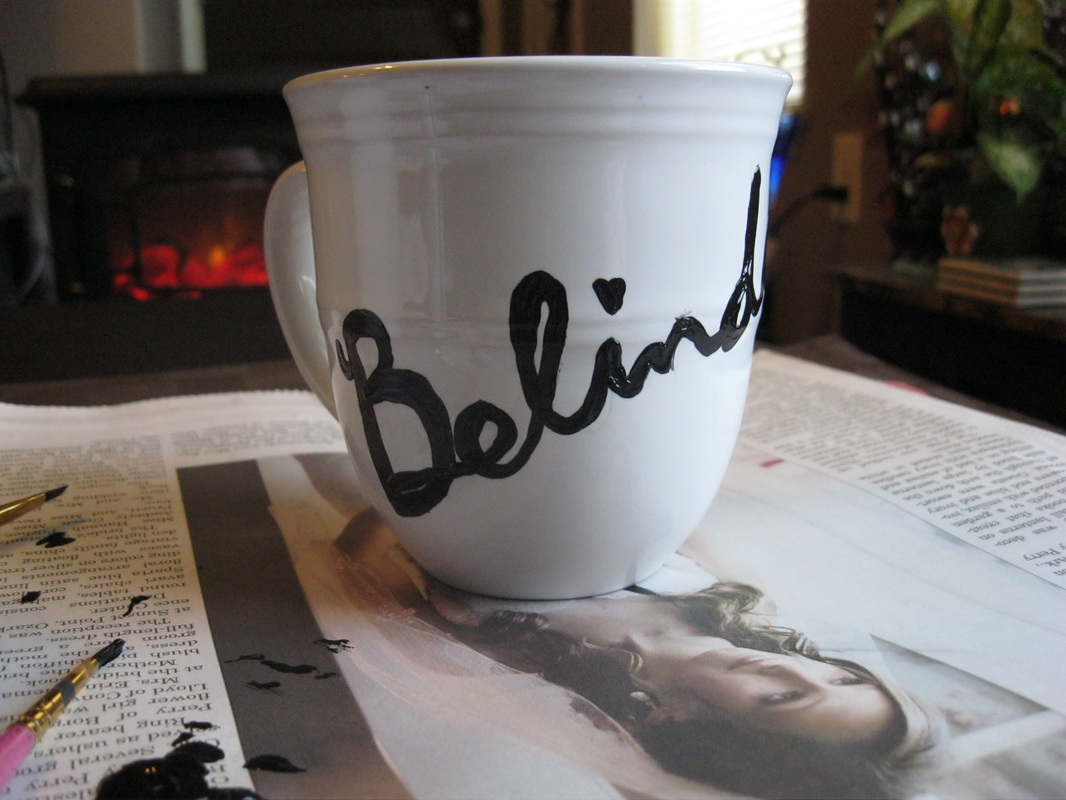
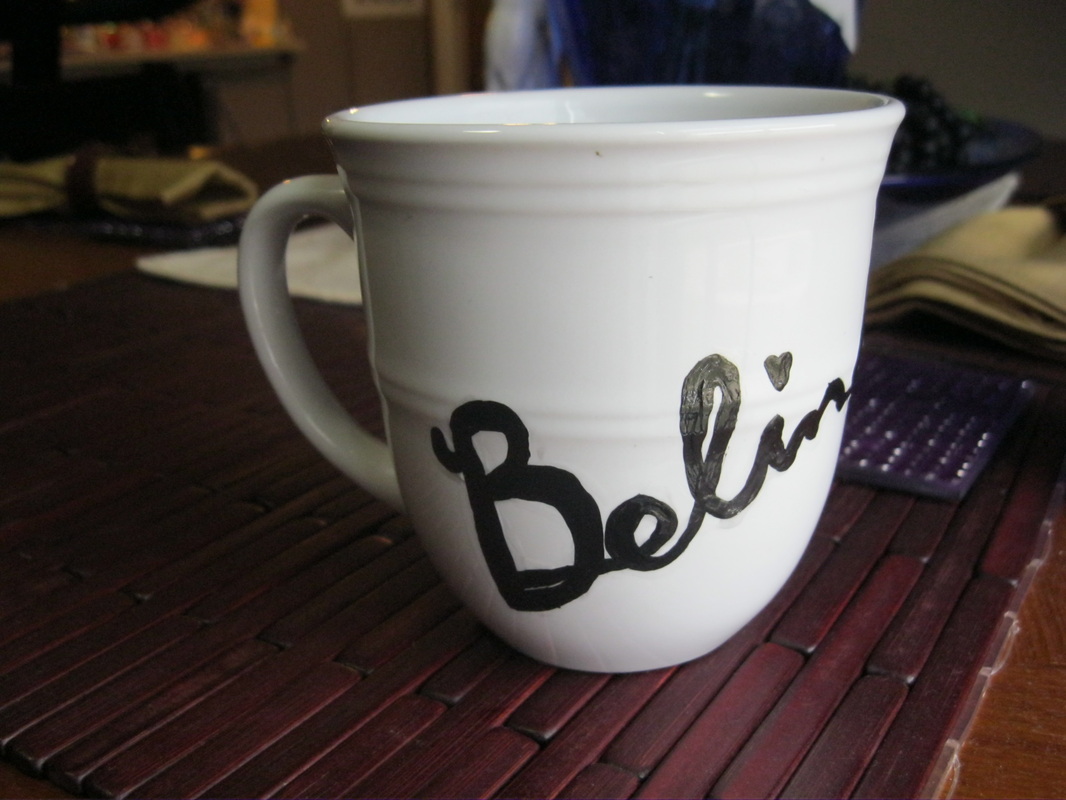
Step 1: Buy a plain mug that you want to work with. I bought mine at Wal-Mart for $1.50 each. Any light color would probably do just fine I am using white.
Step 2: Hand wash the mug mildly with soap and water. Dry the mug off softly with a cloth or towel. Let the mug sit another minute or so to completely dry. (Of course you can wash it in the dishwasher if you would rather).
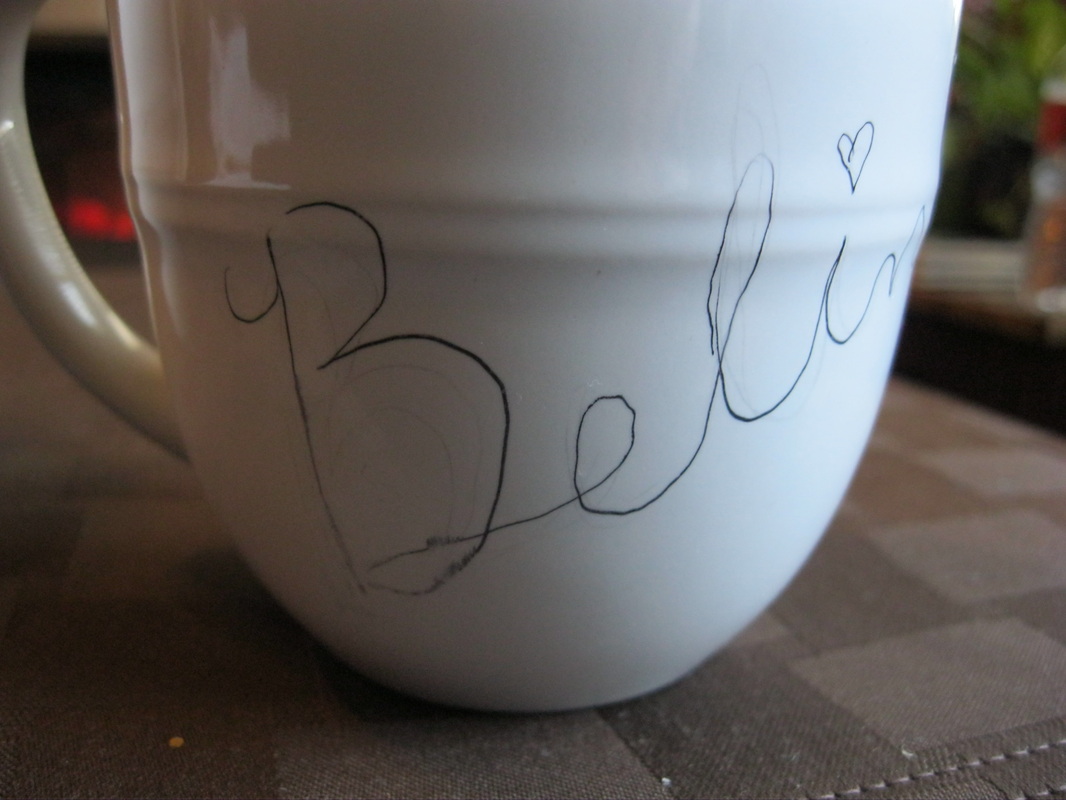
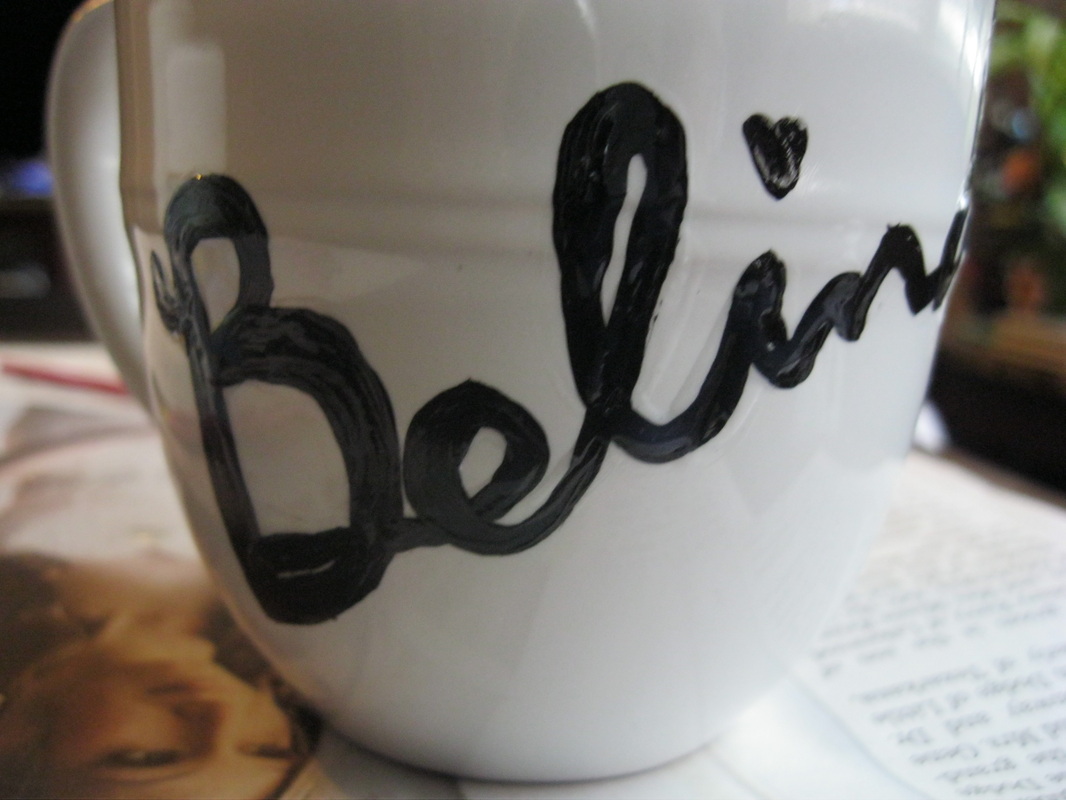
Step 3: Draw your design on the mug with a pencil very lightly.
Step 4: Draw lightly on the mug with a fine sharpie over your penciled design. Please note that this is just the rough idea and does not have to be precise.
Step 3: Draw your design on the mug with a pencil very lightly.
Step 4: Draw lightly on the mug with a fine sharpie over your penciled design. Please note that this is just the rough idea and does not have to be precise.
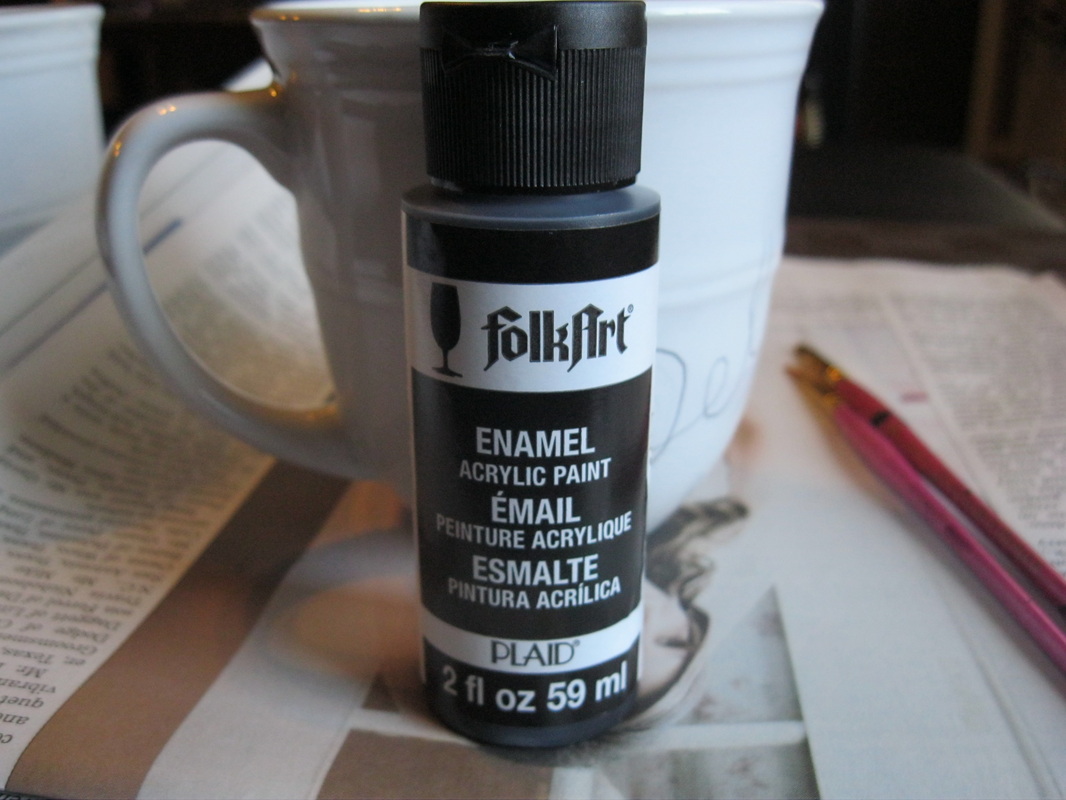
Step 5: Use enamel paint! If you want to go the Sharpie route, feel free to do so. I used FolkArt Enamel Acrylic Paint 4032 Licorice black. I personally would advise not to use normal plain acrylic paint. I tried that method on a ceramic pot and it did not have the vibrant vivid appeal that I liked with FolkArt enamel. I also doubt it would hold up as strongly, but if you want to give it a try let me know how it works out for you!
Next, don’t believe all of the directions! A lot of the time you need to judge for yourself. I did not clean my surface with alcohol. I also put mine in the oven a little longer than stated. Of course direct contact with food or skin is not a good idea, but it is non-toxic and AP rated so overall it should remain safe!
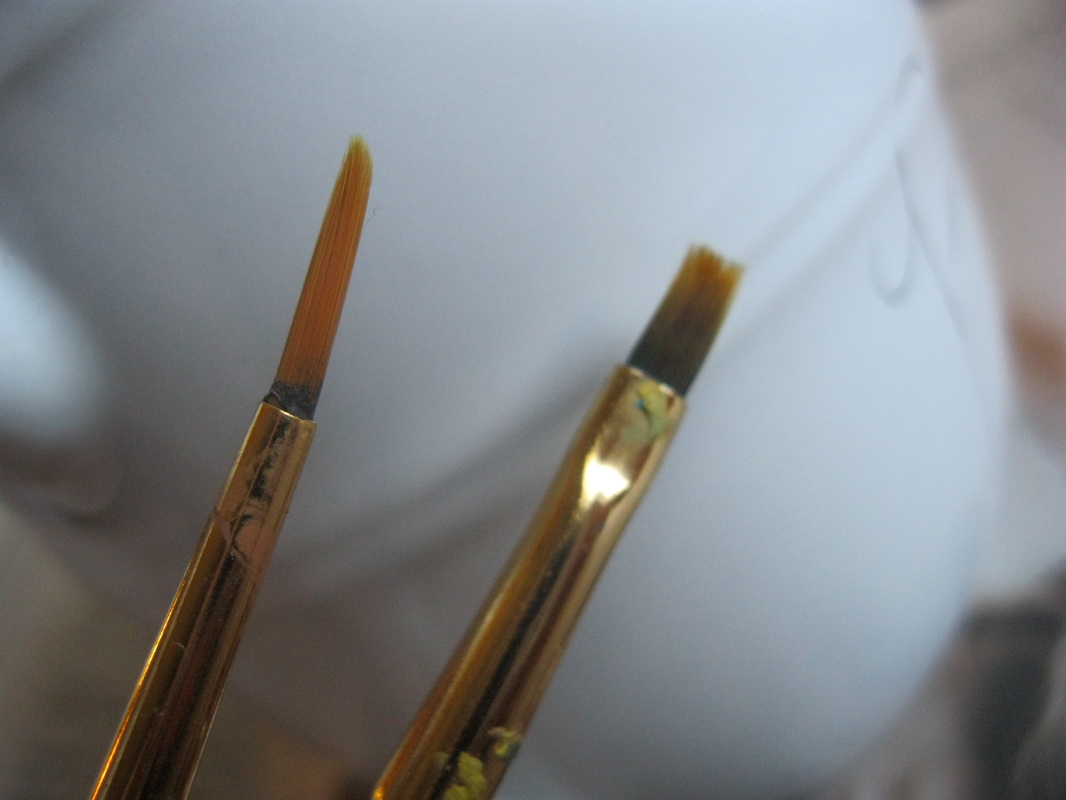
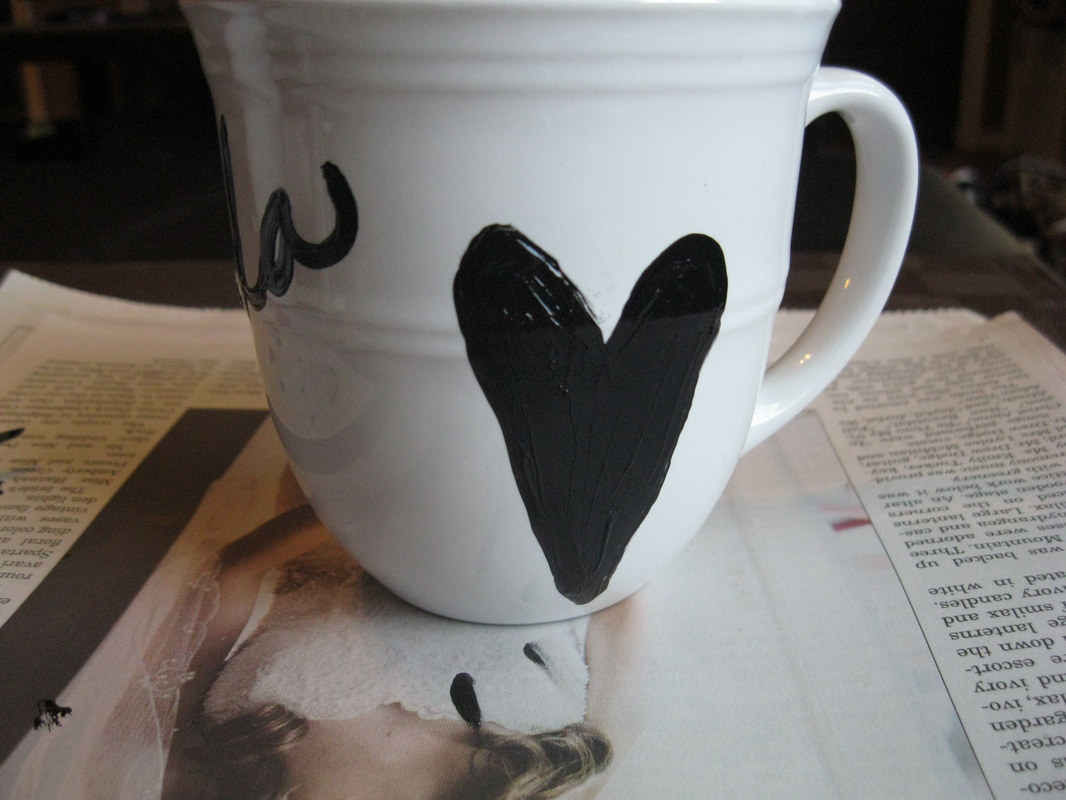
For painting my design I used small bristle brushes. It is okay if your design is not perfect the first time!
- Be sure to read the instructions on your paint, mine says: “For Glass & Ceramics, Waterbase, non-toxic. Clean surface with alcohol. Shake. Clean while wet with soap & water. Air dry 21 days or air dry 1 hour. Place in cool oven, heat to 350°F. Bake 30 min, cool in oven, remove. No direct contact with food. Handwash or top rack dishwasher safe.”
Next, don’t believe all of the directions! A lot of the time you need to judge for yourself. I did not clean my surface with alcohol. I also put mine in the oven a little longer than stated. Of course direct contact with food or skin is not a good idea, but it is non-toxic and AP rated so overall it should remain safe!
For painting my design I used small bristle brushes. It is okay if your design is not perfect the first time!
Step 6: Let dry for about 10 minutes.
Step 7: Put on another layer of paint more precisely if you are picky.
Step 8: Let air dry for about 1-2 hours or more. If you need to leave or do something else it should not matter at this stage. I dried mine for about an hour and a half.
Step 9: Put the mug on a cookie sheet (for extra protection) and place in the oven while it is turned off! I also took out our bottom rack and moved the top one more centered in our oven for a more even consistency, but it shouldn’t matter. After you put the mug in the oven turn the oven on to 350°F. The paint says to let it bake for about 30 minutes, but some people have better luck leaving it in a little longer. I kept mine in for nearly 45 minutes.
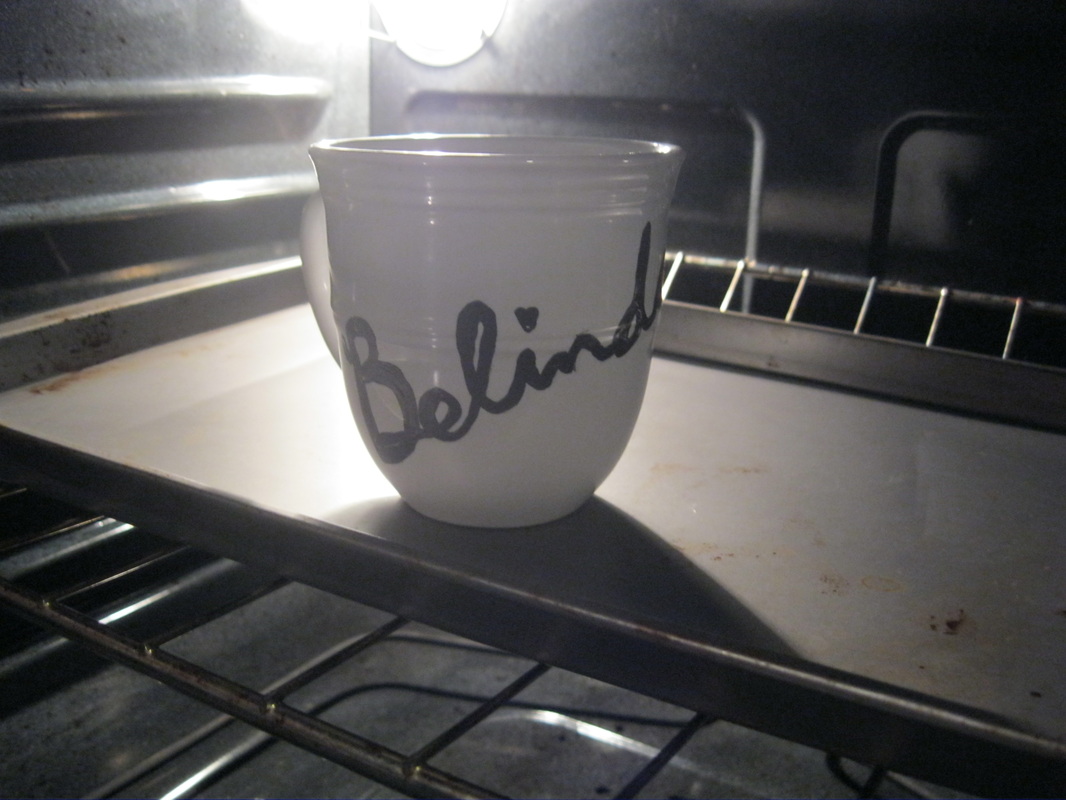
Step 10: Let the mug cool down in the oven! I let mine cool down for approximately 10 minutes before taking it out and letting it cool down more in the air.
Step 11: I did a cleaning test to see how the paint held up. The thin parts easily rubbed off (or would have after a couple of washes, they were my messed up areas anyway) the thicker parts seem to hold up nicely. You probably won’t want to do a cleaning test because that may irritate the paint more. If you have a lot of messed up areas you can easily clean off without hurting your design, this would be an easy time to do so.
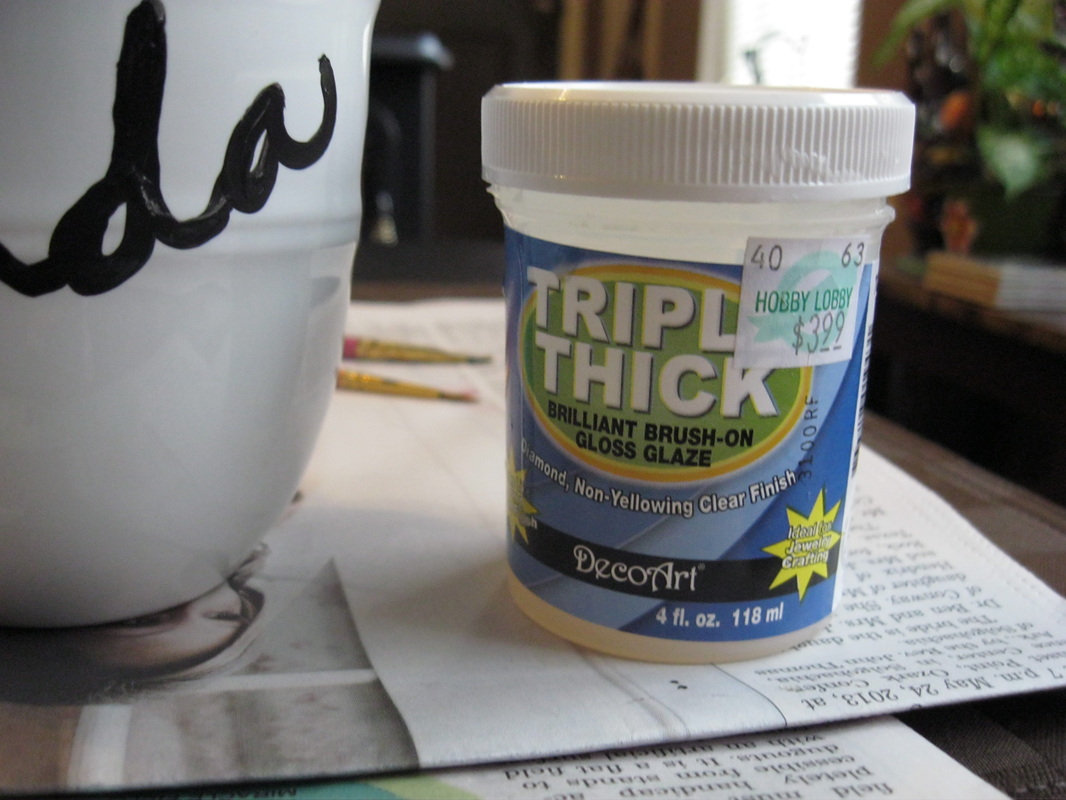
Step 12: I used Triple Thick Brilliant Crush-on Gloss Glaze by DecoArt from Hobby Lobby ($3.99 from other crafts I used it on). It is AP rated so not toxic; just don’t get it too close to where people would put their food, drink, lips, or mouth!
I used a clean brush to brush the glaze over my design only!
Wait about 10 minutes for it to dry and then glaze over the design one last time.
Step 11: I did a cleaning test to see how the paint held up. The thin parts easily rubbed off (or would have after a couple of washes, they were my messed up areas anyway) the thicker parts seem to hold up nicely. You probably won’t want to do a cleaning test because that may irritate the paint more. If you have a lot of messed up areas you can easily clean off without hurting your design, this would be an easy time to do so.
Step 12: I used Triple Thick Brilliant Crush-on Gloss Glaze by DecoArt from Hobby Lobby ($3.99 from other crafts I used it on). It is AP rated so not toxic; just don’t get it too close to where people would put their food, drink, lips, or mouth!
I used a clean brush to brush the glaze over my design only!
Wait about 10 minutes for it to dry and then glaze over the design one last time.
Step 13: Let the glaze dry for about 20-30 minutes and viola you are finished! Some glazes may need extra baking. The glaze should help the design last a lot longer!
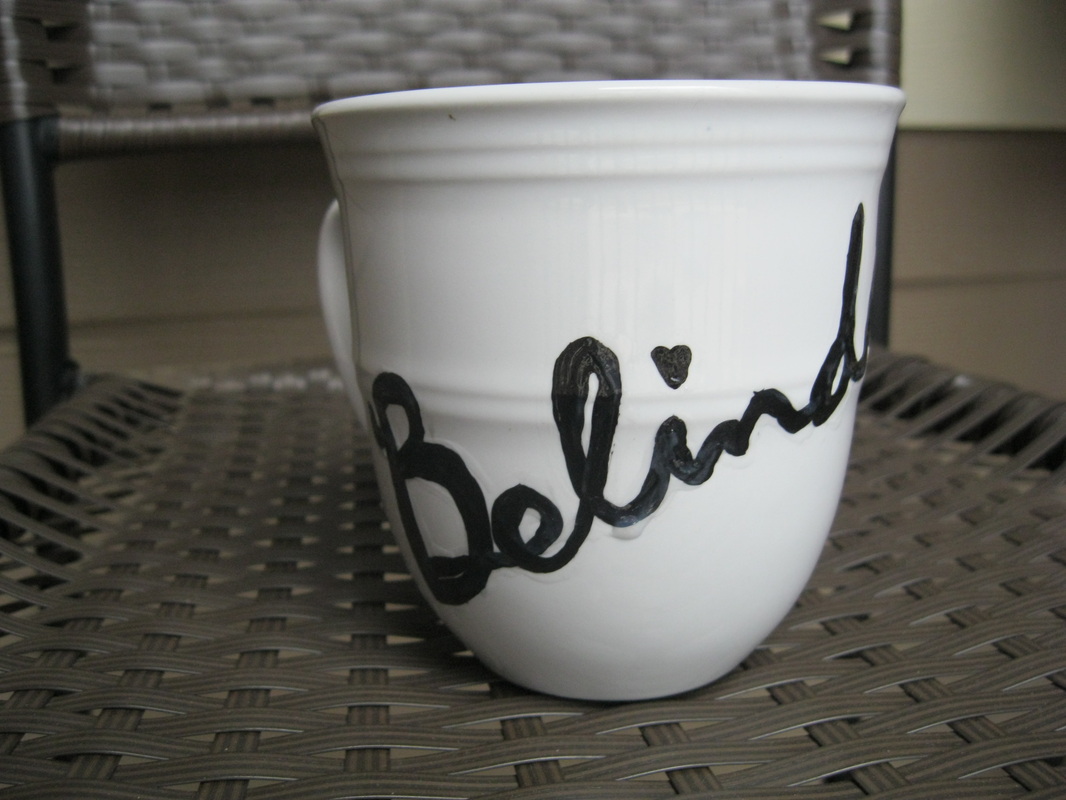
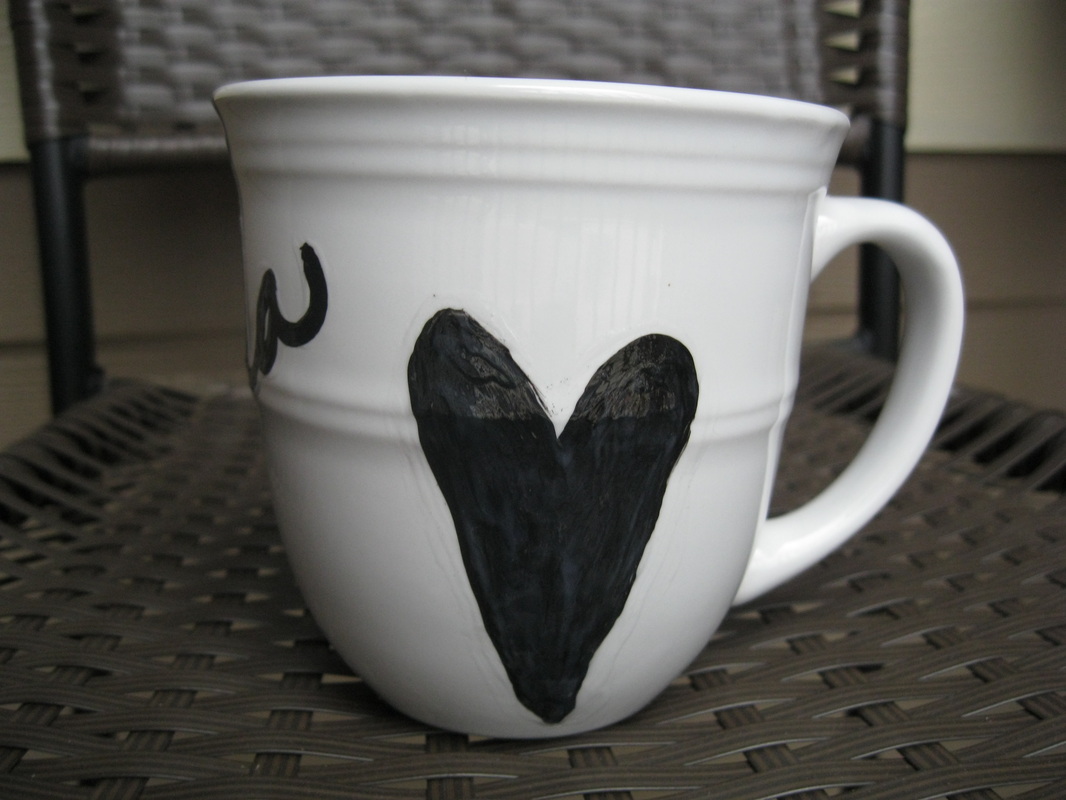
Below is the final product! I let the glaze dry for a couple of days and then put water on it and scrubbed it with a washcloth. Exciting Note: The glaze seems to be a wonderful protection! I still would not recommend washing the mug in a dishwasher. It would probably last a lot longer like this than without a glaze, but I do imagine after a few washes in the dishwasher it may start to deteriorate. I am interested to know if the glaze works just as well with sharpie so if you try it, let me know! The only downside the the glaze is that it is quite thick, shows up, and you can feel it but it does not look so bad because it helps the mug have a little more dimension!
Be sure to Repin us and help share our projects! We would love to hear your ideas and outcomes. We hope to see you again soon! :) Let me know how your project turns out!
 RSS Feed
