
Painted Monogram Bath Collection
This is such a simple and cheap gift idea that is great to do for you or for others! This is also a wonderful last minute gift that is personalized and looks as if you spent hours thinking about it.
Time Spent:
Total (with drying): less than 3 hours
20-45 minutes active time (drawing, painting, coating)
1-2 hours to let paint/glazes dry
Money Spent + Supplies Needed:
Total for me: $3.00 per set (I re-used paint and gloss coatings)
Collection pieces: $3.00 per set (Each item was $1.00 at the Dollar Tree)
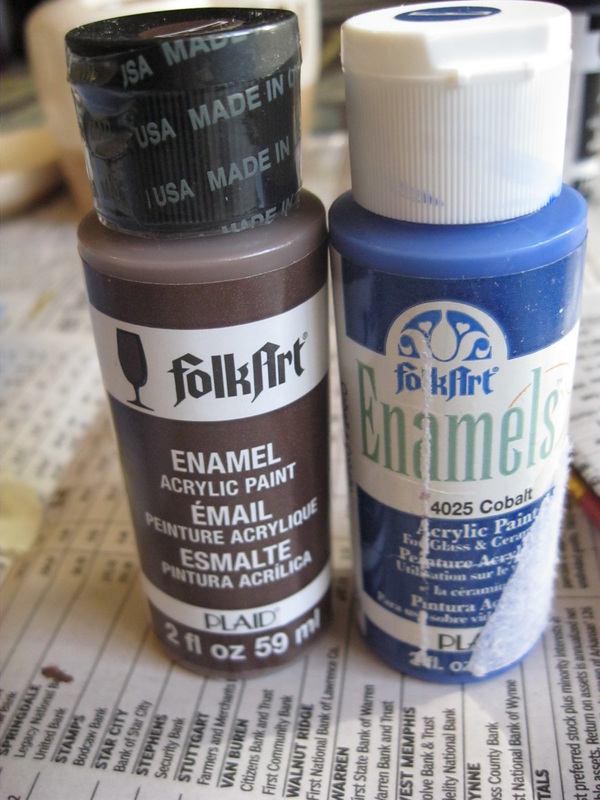
Enamel Paint: $1.50 (FolkArt Enamel at Hobby Lobby)
Also Used: Pencil, Fine Sharpie, Newspaper, Paintbrushes, Stencil, Coating
You may need to buy a Fine Sharpie (approx. $1-$2), Paint brushes ($1-$3), Coating ($3.99 DecoArt at Hobby Lobby), Stencil (approx. $2-$3 at Hobby Lobby)
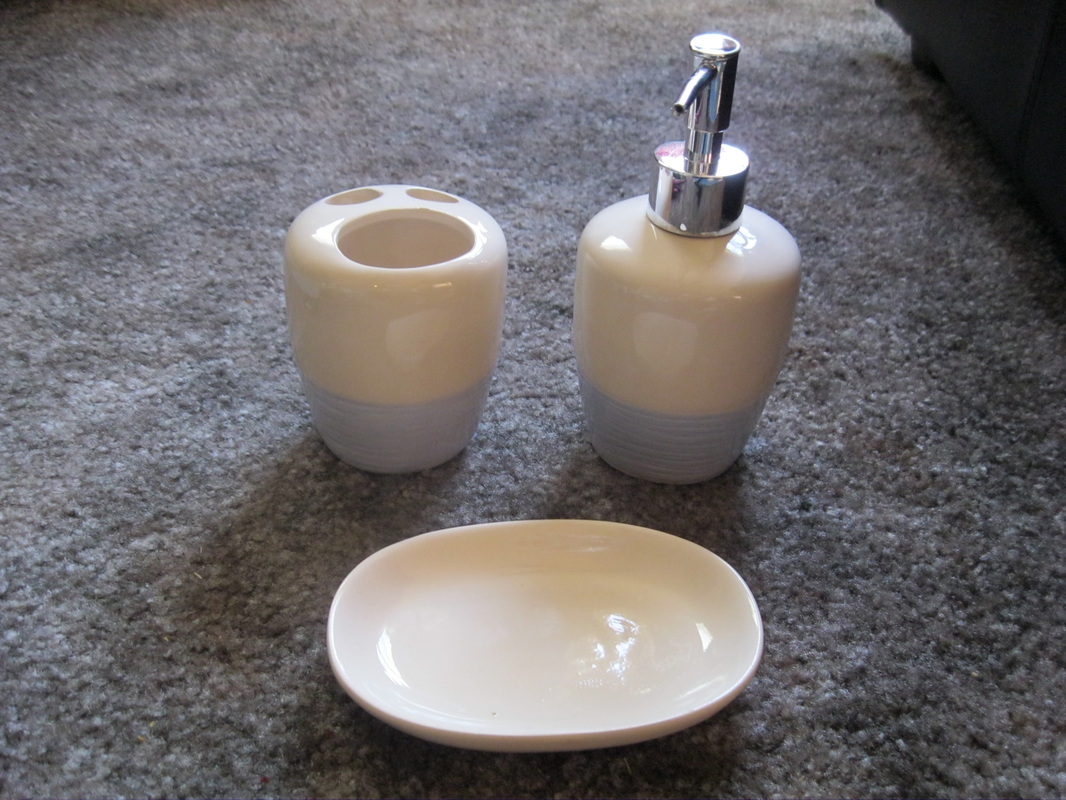
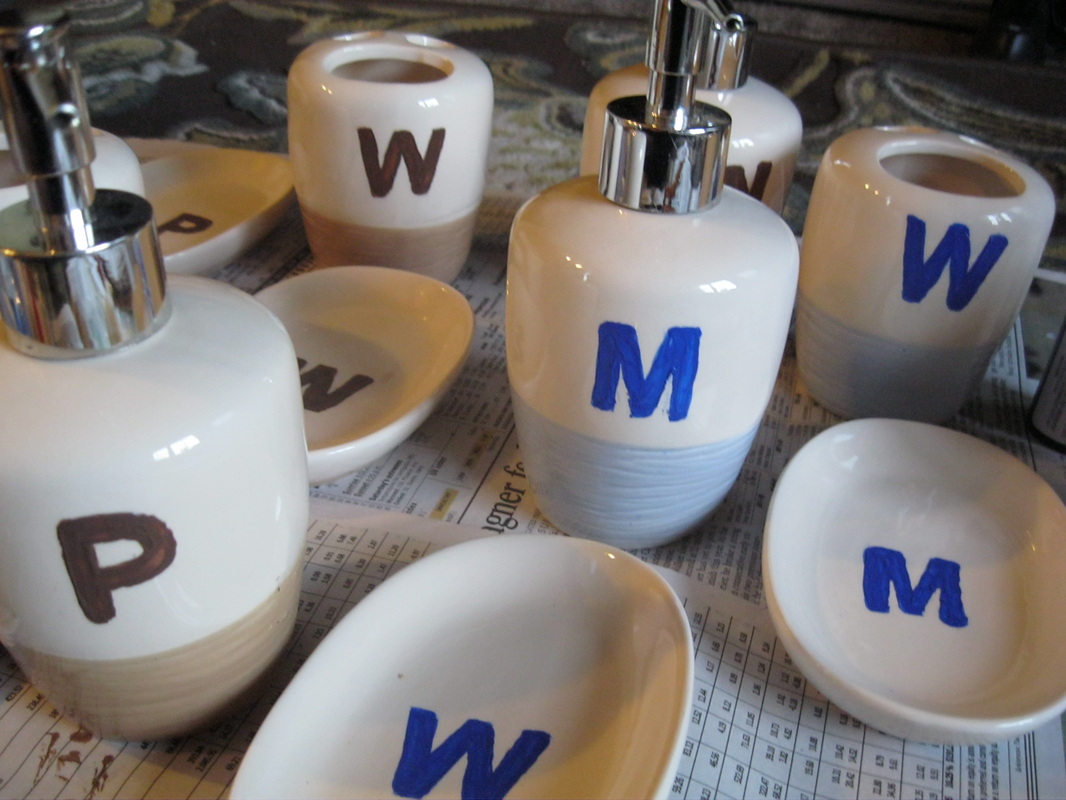
Step 1: Buy a light colored bathroom collection set. Mine includes a toothbrush holder, soap dispenser, and bar soap holder.
This is such a simple and cheap gift idea that is great to do for you or for others! This is also a wonderful last minute gift that is personalized and looks as if you spent hours thinking about it.
Time Spent:
Total (with drying): less than 3 hours
20-45 minutes active time (drawing, painting, coating)
1-2 hours to let paint/glazes dry
Money Spent + Supplies Needed:
Total for me: $3.00 per set (I re-used paint and gloss coatings)
Collection pieces: $3.00 per set (Each item was $1.00 at the Dollar Tree)
Enamel Paint: $1.50 (FolkArt Enamel at Hobby Lobby)
Also Used: Pencil, Fine Sharpie, Newspaper, Paintbrushes, Stencil, Coating
You may need to buy a Fine Sharpie (approx. $1-$2), Paint brushes ($1-$3), Coating ($3.99 DecoArt at Hobby Lobby), Stencil (approx. $2-$3 at Hobby Lobby)
Step 1: Buy a light colored bathroom collection set. Mine includes a toothbrush holder, soap dispenser, and bar soap holder.
Step 2: Hand wash the set mildly with soap and water. Dry off softly with a cloth or towel. Let the set sit another minute or so to completely dry. This helps eliminate dirt.
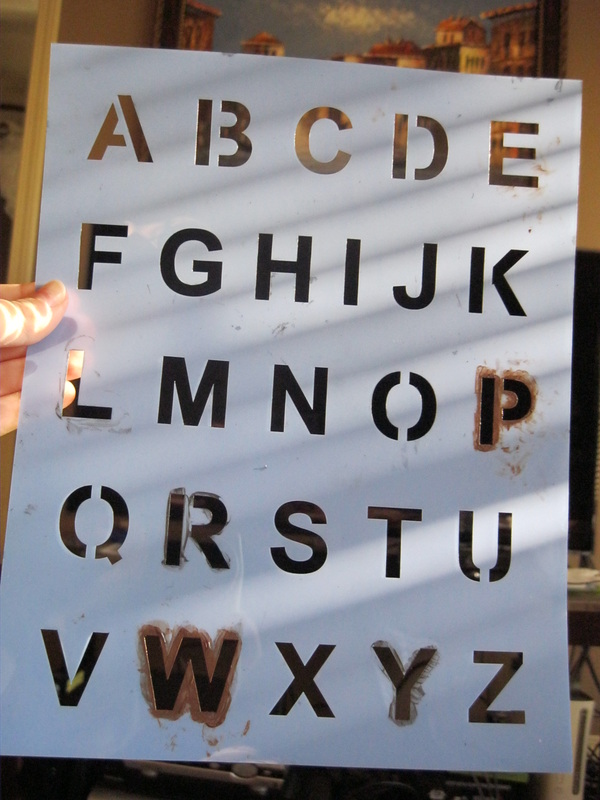
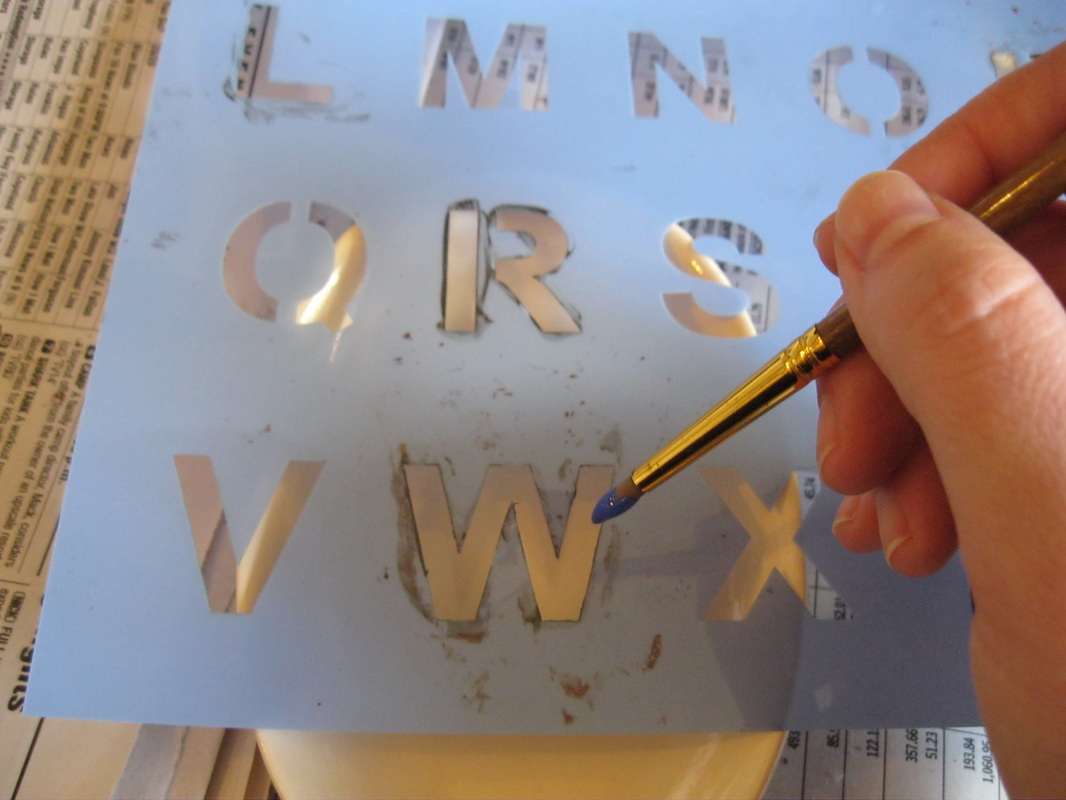
Step 3: Draw your design on the pieces with a pencil very lightly if you want to be precise. I used a monogram stencil and started to paint instead of tracing.
Step 4: Use enamel paint! I used FolkArt Enamel Acrylic. Use any color that you wish or that works well with any other colors already on the set.
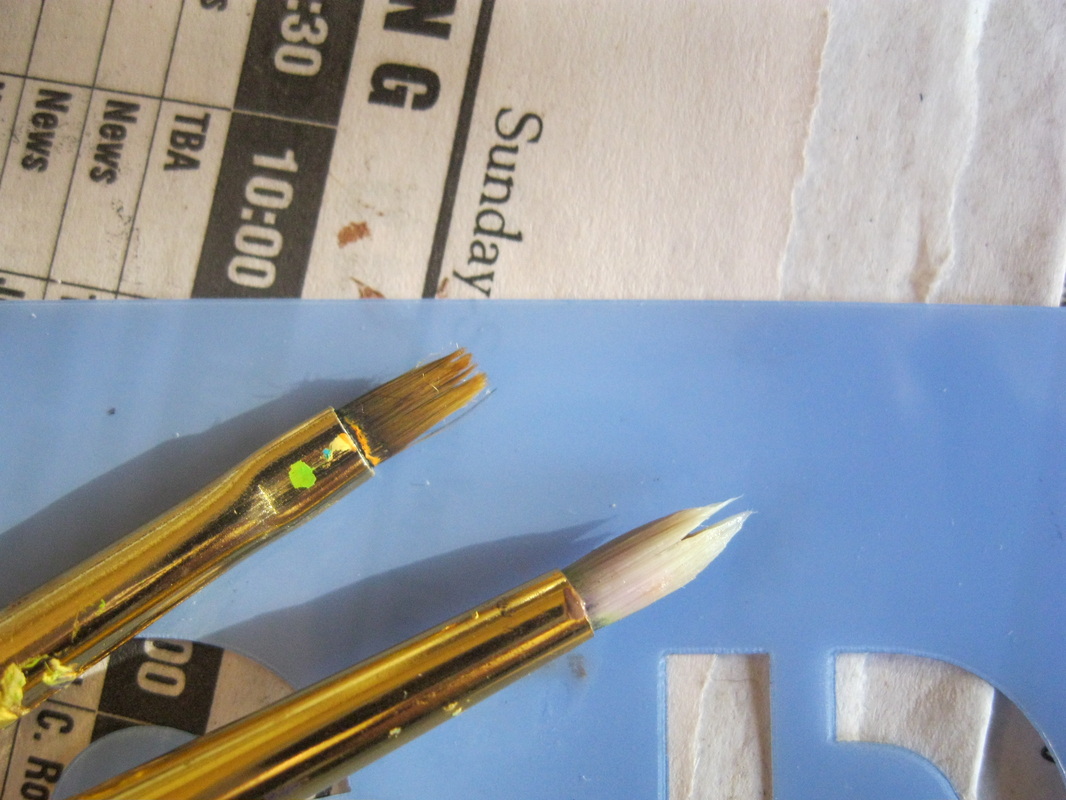
For painting my design I used small bristle brushes. It is okay if your design is not perfect the first time!
Step 3: Draw your design on the pieces with a pencil very lightly if you want to be precise. I used a monogram stencil and started to paint instead of tracing.
Step 4: Use enamel paint! I used FolkArt Enamel Acrylic. Use any color that you wish or that works well with any other colors already on the set.
For painting my design I used small bristle brushes. It is okay if your design is not perfect the first time!
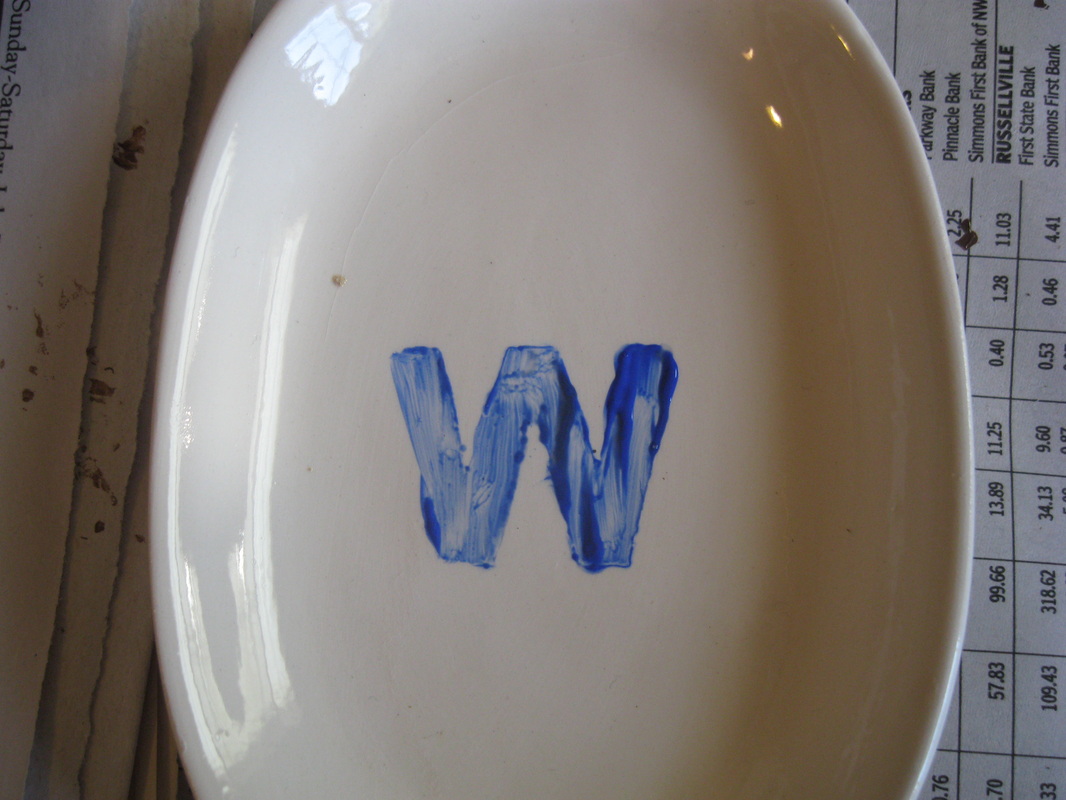
Step 5: Let dry for about 10 minutes.
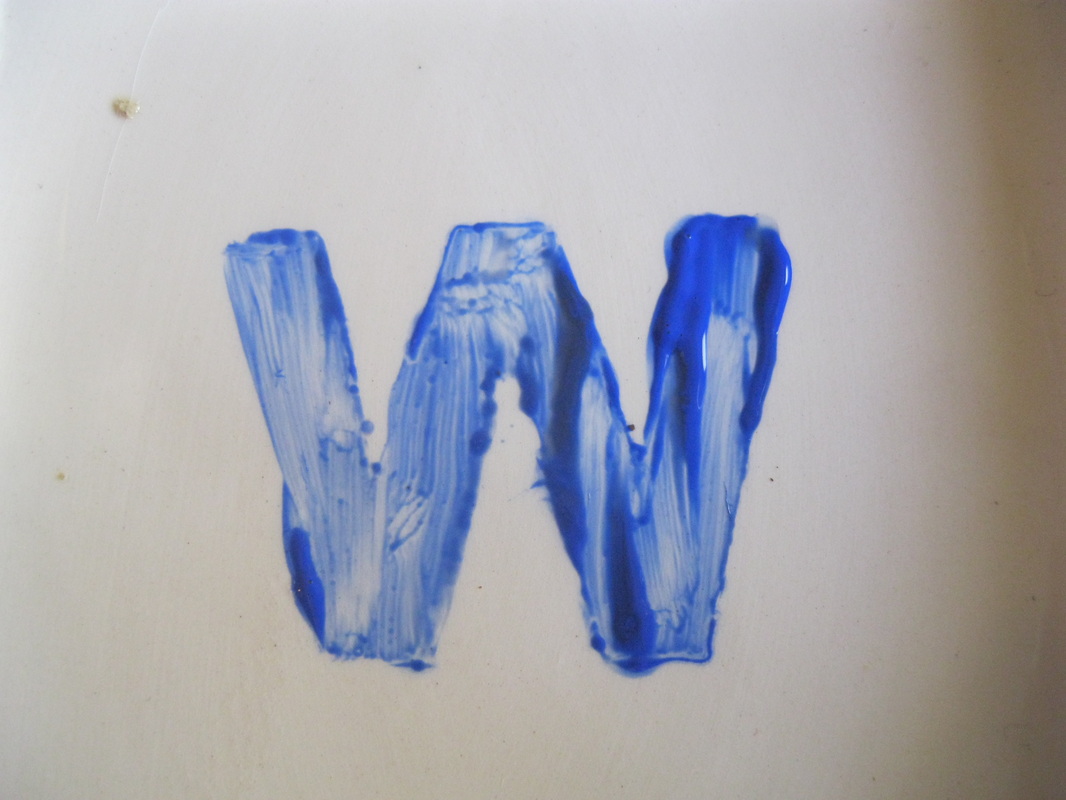
Step 6: Put on another layer of paint more precisely. I did three coats total. I let the set dry for approximately 10 minutes in between each coat.
Step 6: Put on another layer of paint more precisely. I did three coats total. I let the set dry for approximately 10 minutes in between each coat.
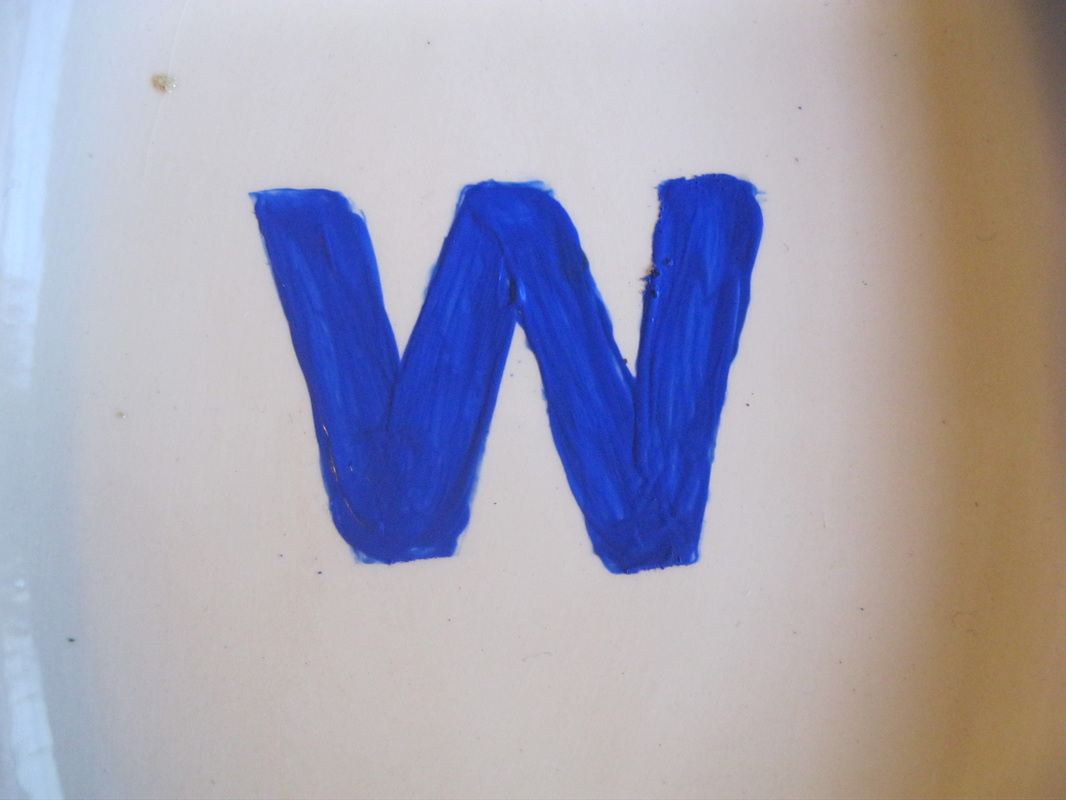
Step 7: Let air dry for about 1-2 hours or more. If you need to leave or do something else it should not matter at this stage. I dried mine for about an hour and a half.
Step 8: I used Triple Thick Brilliant Crush-on Gloss Glaze by DecoArt from Hobby Lobby ($3.99 from other crafts I used it on). It is AP rated so not toxic. You can use another glaze if you prefer.
I used a clean brush to brush the glaze over my designed area.
Wait about 10 minutes for it to dry enough and then glaze over the design one or two more times.
Step 9: Let the glaze dry for about 20-30 minutes and then you are done!
Be sure to Repin us and help share our projects! We would love to hear your ideas and outcomes. Thank you for viewing our project! We hope to see you again soon!
 RSS Feed
